Art Project: Decorating Pumpkins
Are you up to any shenanigans for Halloween? Are you giving your home a spooky makeover? Do you have any fun traditions for hanging out with the kids and family? Maybe even thinking about proposing an awesome art project?
Typically, I am not a big fan of holiday-themed projects. I will tell you why:
- Holiday projects are usually product-oriented
- Grown-ups do a large portion of the creations
- Children have little room for creativity
Despite that, I would like to share one idea I decided to try around Halloween time. In October, families, and preschools often choose to create a Jack-a-Lantern. On one hand, it can be a very fun project; on the other hand, for some younger children, cutting through a pumpkin’s thick skin can be too difficult, and taking the seeds out is too time-consuming, involving a lot of help and directions from grown-ups.
So here is an alternative idea for a similar and yet different project:
First of all, you need to collect some materials:
- You will want a big round and preferably stable pumpkin;
- A real hammer and nails (you can find them at a 99c store);
- Screws and a screwdriver;
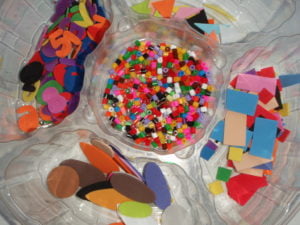
- A sorter tray with a variety of items that children can hammer into the pumpkin: buttons, lids, yarn, foam shapes, etc.
Hammering items into the pumpkin can be easier than cutting through the pumpkin’s skin and at the same time is very empowering. Children will love to use real tools: nails and hammers.
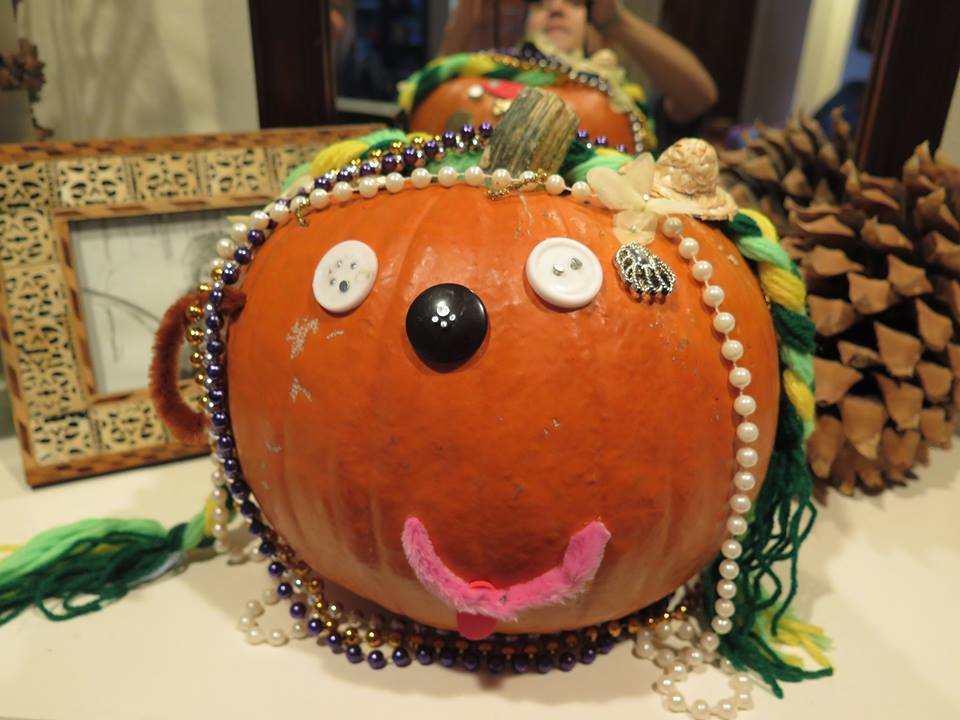
A variety of ideas will support their imagination. What can we use for eyes? What can be the nose and mouth? Should my pumpkin have hands or wear glasses?
Moreover, not all pumpkins should look representational; for some children, nailing will be more important than creating an image.
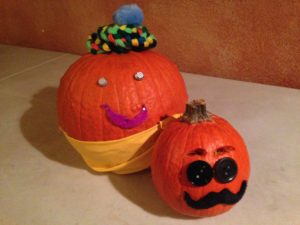
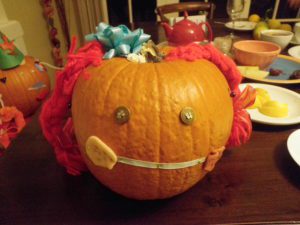
We had a lot of fun with this project, check out the different creations!
Enjoy the process! Happy Halloween!!
Here are more varieties of this project: Halloween Art Project – Decorate Pumpkins with Tinker Trays
Cheers,
Teacher Kira

